
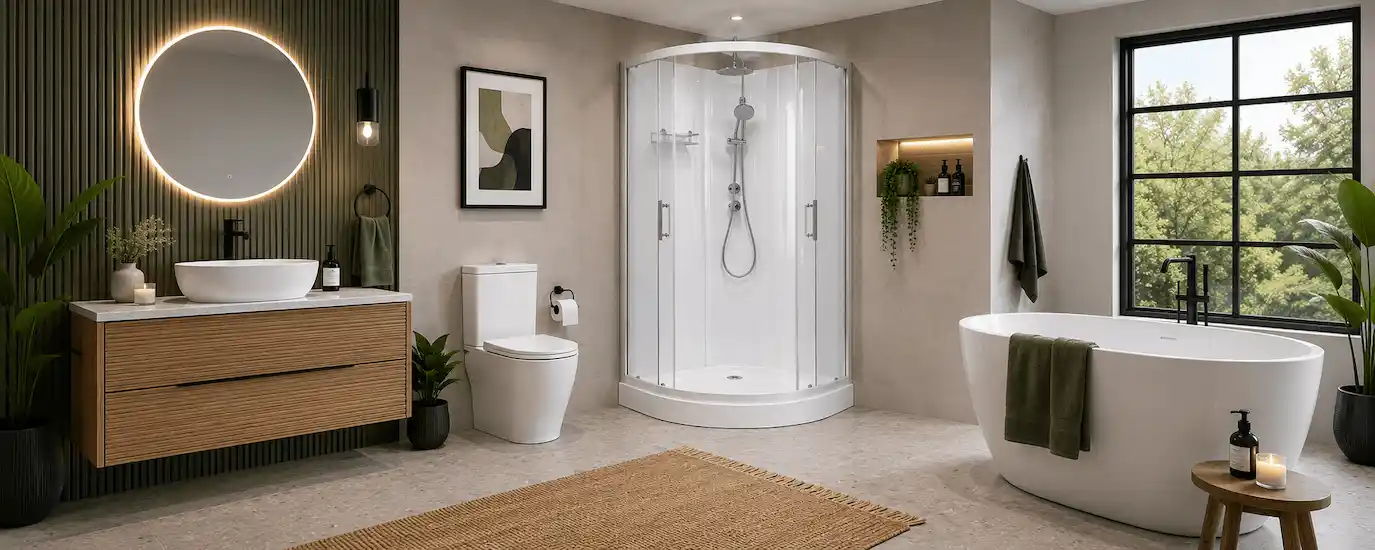

How Easy Is It to Install a Fully Enclosed Shower Cubicle?

Fully Enclosed Shower Installation: 7 Easy Steps
Fully enclosed showers are among the easiest complete shower systems to install when the model is designed for straightforward assembly. An Aeros shower cubicle arrives as a coordinated tray, frame, wall, glass and shower-fitting system, reducing the separate waterproofing, tiling and trade stages normally associated with a conventional shower.
For a capable DIY renovator, builder or plumber, a typical fully enclosed shower installation can often be completed within one day once the room, water connections and waste point are ready. Aeros cubicles use a custom clip-lock assembly method with no screws, glue or silicone required to assemble the enclosure, and the raised reinforced tray does not need silicone around its perimeter.
What is a fully enclosed shower?
A fully enclosed shower—also called a shower cubicle or shower pod—is a freestanding, self-contained shower system. Unlike a traditional shower that relies on tiled walls, a waterproofed floor and multiple separately selected components, the cubicle has its own reinforced tray, enclosure walls, safety-glass doors and internal shower fittings.
Aeros designs its shower cubicles in Australia and outsources manufacturing to reliable partner factories. The product range has been developed from practical product, installation and customer knowledge accumulated across approximately 20,000 to 25,000 supplied units. The aim is not simply to package ordinary shower parts together; it is to remove unnecessary assembly difficulty and create a reliable, repeatable installation method.
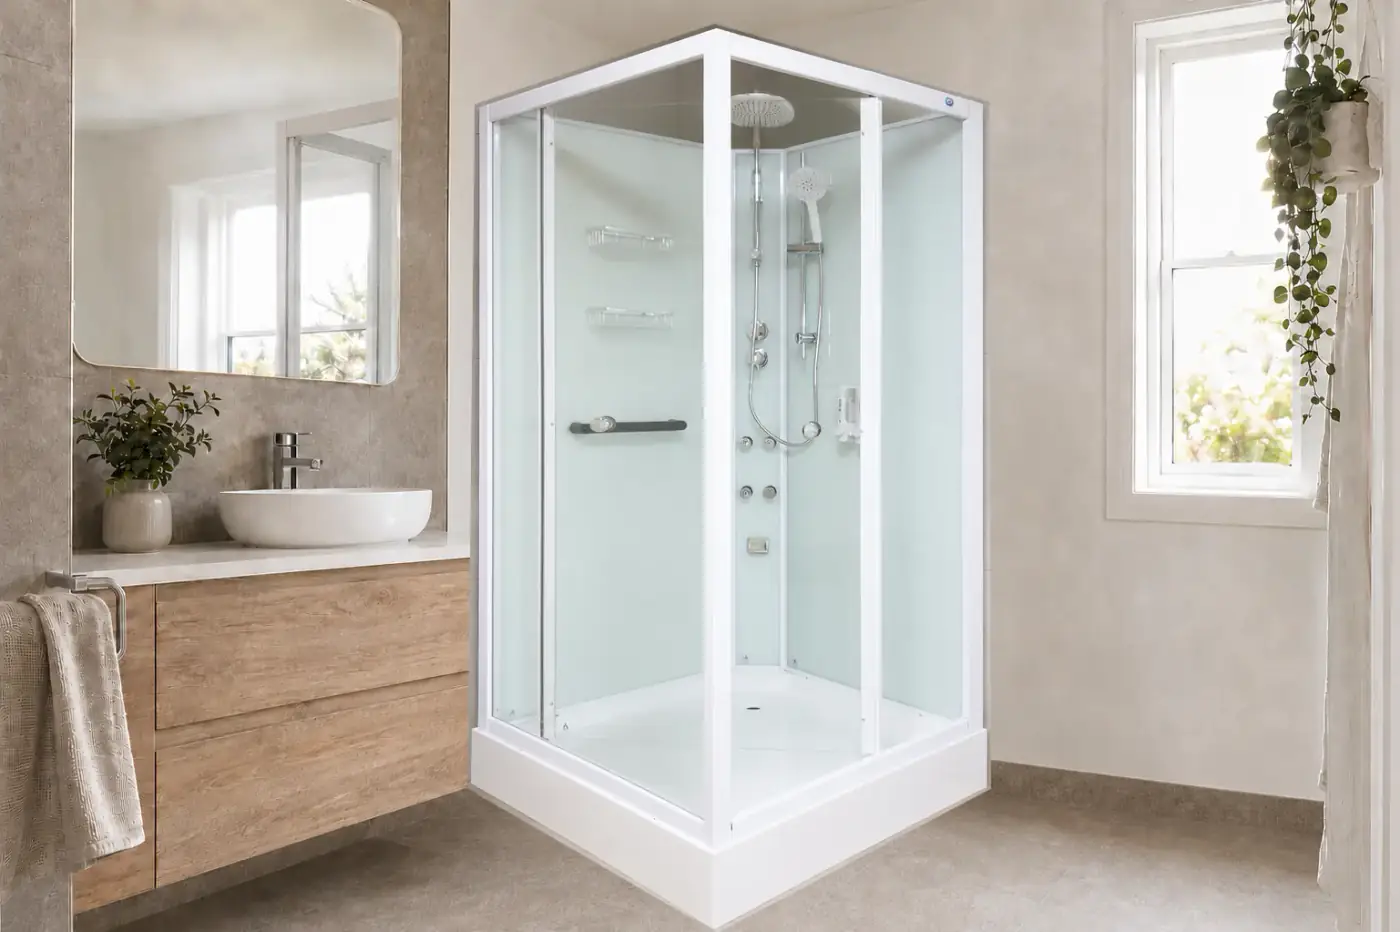
Why fully enclosed shower installation is easier
| Installation stage | Aeros fully enclosed shower | Typical tiled shower |
|---|---|---|
| Water containment | Designed as a complete watertight enclosure | Depends on membrane, substrate, junctions, grout and sealant |
| Tray and floor | Reinforced acrylic tray on an adjustable steel support frame | May require screeding, waterproofing, curing and tiling |
| Wall finish | Prefinished wall panels | Wall preparation, waterproofing, adhesive, tiles and grout |
| Enclosure assembly | Custom clip-lock design; no screws, glue or silicone for cubicle assembly | Multiple separately measured and installed components |
| Installation sequence | Coordinated components supplied for the selected model | Several trades and curing periods may be required |
| Maintenance | No tile grout inside the cubicle | Grout and silicone joints require ongoing cleaning and maintenance |
For anyone planning a fully enclosed shower installation, this does not mean every room is automatically ready. Every fully enclosed shower installation still needs suitable plumbing, adequate ceiling height, a stable floor and safe access for bringing the cartons into position. However, once those requirements are addressed, the installation sequence is far more predictable.
Fully enclosed shower installation planning
Successful fully enclosed shower installation begins before the cartons are opened. Confirm the exact external dimensions of the selected model and compare them with the available floor area. Aeros offers square front-entry, square corner-entry, round corner-entry and rectangular front-entry models in several sizes, so the best choice depends on the room layout and preferred door access.
- Check the model’s external width and depth against the clear floor area.
- Allow a minimum installation height of 2150 mm and confirm the route into the room.
- Confirm the floor is stable and can support the completed shower.
- Locate the 50 mm waste connection and check how it will connect to the tray outlet.
- Provide compliant hot and cold water connections, normally through accessible mini stops.
- Confirm the maximum water pressure does not exceed 500 kPa.
- Check whether plumbing work must be completed by a licensed plumber in your state or territory.
- Read the assembly guide for the exact Aeros model before beginning.
For fully enclosed shower installation planning, do not select a shower by internal appearance alone. Door movement, entry direction, plumbing access and room circulation all matter. If space is tight, compare the square and round corner-entry ranges; for a longer wall, a rectangular 1200 × 900 mm model may provide a wider front entry.
Fully enclosed shower installation steps
| Step | What to do | Why it matters |
|---|---|---|
| 1. Inspect | Check cartons, components and glass before assembly. | Identifies transit damage or missing parts before work begins. |
| 2. Position the tray | Place the reinforced tray in its intended position and adjust the supporting legs. | A level, fully supported tray helps doors align and water drain correctly. |
| 3. Plan the waste | Connect the 50 mm waste outlet using the arrangement suitable for the site. | Correct fall and accessibility reduce drainage problems. |
| 4. Assemble the walls | Follow the model guide and engage the wall and frame components in sequence. | The clip-lock construction creates the designed watertight joints. |
| 5. Fit the front frame | Install the front panel and doors, then check alignment and smooth movement. | Correct frame geometry during fully enclosed shower installation prevents binding and uneven door gaps. |
| 6. Connect fittings | Connect the supplied internal shower fittings and external water supplies as specified. | Correct connections protect performance and compliance. |
| 7. Test | Run the shower, inspect all connections and confirm the waste drains freely. | Testing before final handover reveals any connection issue immediately. |
Tools and connections for fully enclosed shower installation
For a fully enclosed shower installation, the cubicle itself is designed for simple assembly, but room preparation and plumbing connections still require normal measuring and trade tools. The precise fully enclosed shower installation tool list depends on the model and site.
| Item | Typical purpose | Usually supplied? |
|---|---|---|
| Spirit level and tape measure | Positioning and levelling the tray and frame | No |
| Adjustable spanners and pliers | Water and waste connections | No |
| 50 mm waste fittings | Connecting the tray outlet to the site waste | Site-specific |
| Two mini stops and external braided hoses | Connecting hot and cold supplies | No |
| Internal hoses and shower fittings | Connections within the shower cubicle | Included according to model |
| Protective gloves and glass-handling assistance | Safe movement of panels and tempered glass | No |
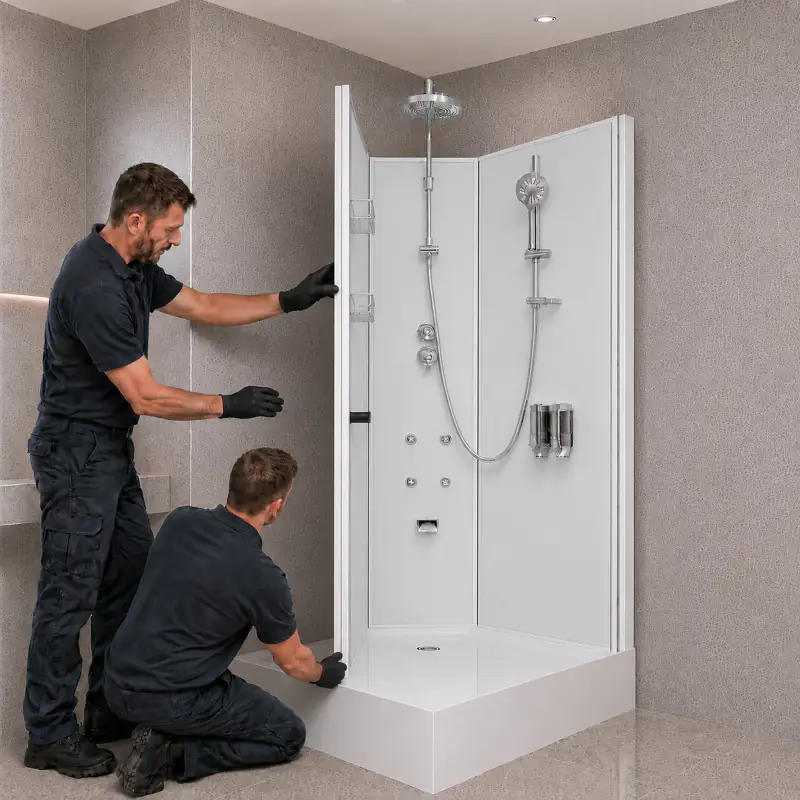
Can a DIY renovator install an Aeros shower cubicle?
For a successful fully enclosed shower installation, many capable DIY renovators can assemble the cubicle when they can accurately measure, level components, follow the model-specific sequence and safely handle glass. Aeros developed the no-screw, no-glue and no-silicone assembly method to reduce complexity and make installation practical for a wider range of customers.
Plumbing rules are separate from the physical assembly. Work involving water supply and sanitary drainage may legally require a licensed plumber, depending on the jurisdiction and the work being performed. A practical approach is for the owner or builder to prepare and assemble the cubicle where permitted, while a licensed plumber completes or verifies regulated connections.
Choose professional help for fully enclosed shower installation if the floor is uneven, existing services must be relocated, access is difficult, the waste arrangement is uncertain, or you are not comfortable handling tempered glass. Paying for the right assistance is more economical than correcting a poorly levelled base or damaged panel.
What does a one-day fully enclosed shower installation look like?
A one-day installation is achievable only when preparation is completed before the installer starts assembling the cubicle. Fully enclosed shower installation removes many wet-trade stages, but it cannot compensate for an unsuitable floor, inaccessible waste or missing water connections. Treat the day as an organised sequence rather than opening every carton at once.
Morning: confirm the site and prepare the base
Begin by comparing the product label and carton contents with the order. Protect the floor, unpack panels safely and keep fittings grouped by assembly stage. Recheck the finished position with a tape measure, including door entry, surrounding fixtures and the route for the waste connection. Place the tray on its steel support frame and use a spirit level across several directions. Adjust the legs until the base is stable and evenly supported; do not attempt to correct an uneven tray later by forcing the wall frame into alignment.
Before building upward, dry-check the 50 mm waste route. The connection must reach without stressing the fitting, maintain appropriate fall and remain accessible enough for proper installation and testing. If a floor penetration or plumbing change is required, stop and have that work completed correctly rather than improvising around the cubicle.
Midday: assemble the enclosure in the specified sequence
Follow the guide for the exact model. Aeros square front-entry, square corner-entry, round corner-entry and rectangular models do not all use the same panel and door sequence. Engage the frame and wall components carefully so every clip-lock joint seats fully. The system is designed to become watertight through correct component engagement; excessive force, substitute fasteners or unnecessary silicone are not solutions for a panel that has been fitted out of sequence.
Use two people when moving large wall or glass sections. One person can support the weight while the other checks the channel, alignment and joint. This is faster and safer than trying to hold a panel upright while locating both edges alone. Once the enclosure is square, install the doors and confirm that rollers, releases and handles operate smoothly without rubbing.
Afternoon: connect, test and hand over
Complete the internal fittings and have the hot, cold and waste connections finished or verified as required. Turn the water on gradually, operate each shower function and inspect every accessible joint. Run enough water to test drainage under realistic use rather than performing only a brief splash test. Check that water stays within the enclosure, the tray drains freely and no hose or fitting shows moisture.
Finish by explaining door operation, cleaning and access to serviceable components. Keep the model guide, compliance information and purchase records together. This organised workflow is why a fully enclosed shower installation can be significantly faster than coordinating waterproofing, tiling, grout curing and a separate shower screen.
Common fully enclosed shower installation mistakes to avoid
1. Starting without checking the complete parts list
During a fully enclosed shower installation, inspect the shipment first. Beginning assembly before confirming the components can leave the room unusable if a part is damaged or has been misplaced.
2. Failing to level and support the shower tray
The adjustable steel support frame must carry the tray evenly. If the base is twisted or unsupported, doors may not align correctly and the waste may not drain as intended.
3. Using silicone where the design does not require it
Aeros cubicles are engineered so the enclosure assembly and tray perimeter do not require silicone, glue or screws. Adding sealant indiscriminately can obstruct designed joints, make future servicing harder and conceal incorrect assembly.
4. Connecting the waste without checking fall and access
A leak-free fitting is only part of the requirement. The waste must also drain freely, remain serviceable and comply with the site’s plumbing arrangement.
5. Ignoring water pressure
Excessive pressure can affect tapware and connections. If the supply exceeds 500 kPa, a compliant pressure-limiting solution may be required.
6. Skipping the final wet test
At the end of fully enclosed shower installation, run each shower function and inspect every accessible hose and fitting, check the tray and door operation, and confirm drainage before considering the job complete.
How fully enclosed shower installation reduces renovation cost
The cost advantage of fully enclosed shower installation becomes clearer when compared with a conventional shower, which can involve demolition, carpentry, substrate preparation, waterproofing, curing, tiling, grouting, screen installation and plumbing visits. Scheduling those stages can extend the time a bathroom is unavailable. A fully enclosed shower consolidates many of those tasks into one coordinated product.
Where the room and services are ready, a fully enclosed shower installation can be possible in one day. Actual time varies with installer experience, access and plumbing changes, but the simplified method can reduce labour, trade coordination and delays. This makes fully enclosed shower installation particularly useful where downtime has a direct cost.
| Application | Why a fully enclosed shower suits it |
|---|---|
| Bathroom renovation | Avoids rebuilding a complete tiled wet area when a suitable water and waste connection is available. |
| Rental property | Fast installation and no internal grout simplify turnaround and ongoing cleaning. |
| Builders and developers | Repeatable product dimensions and assembly can improve programme certainty. |
| Modular housing and cabins | A coordinated shower system suits off-site and compact construction workflows. |
| Secondary bathroom or laundry conversion | Can create a shower facility without constructing tiled shower walls around it. |
| Accessible planning | Model selection can consider entry position, grab-bar requirements and user needs, although the site and product must be assessed for the individual application. |
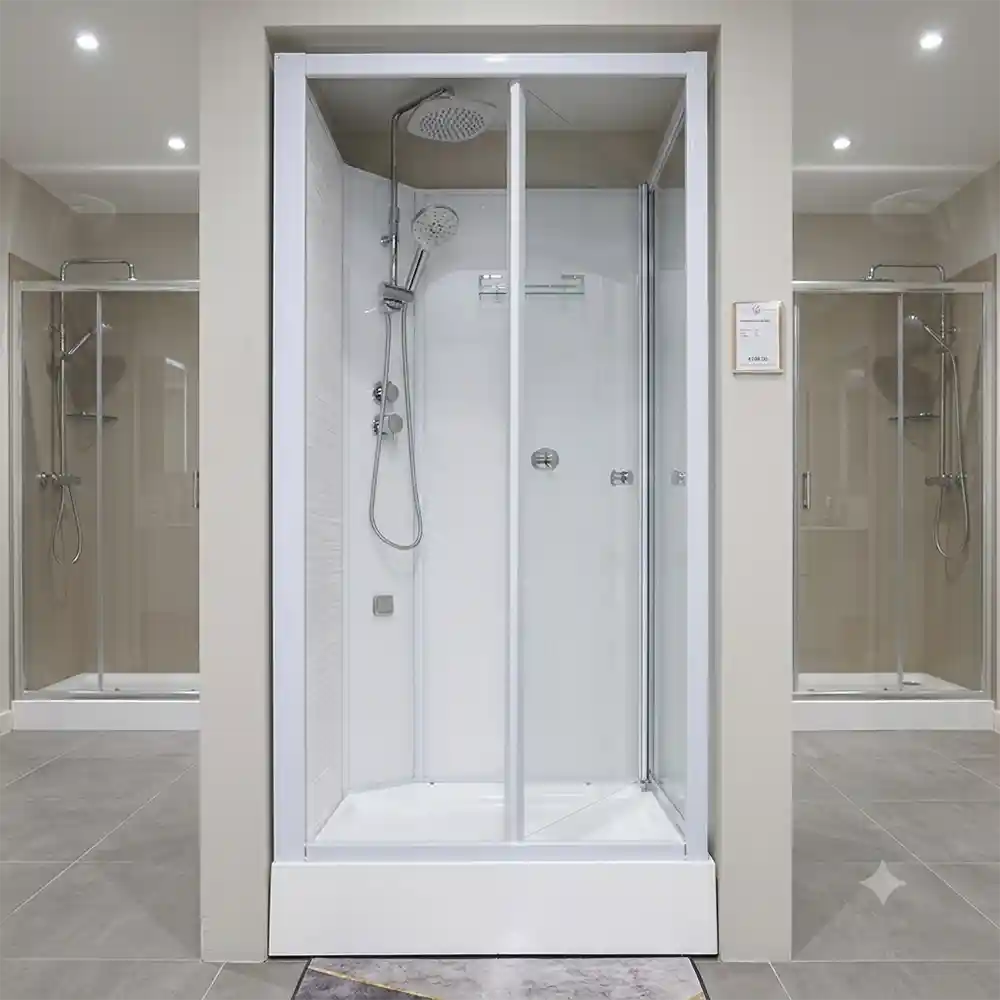
For a broader comparison, read shower pods versus traditional showers and shower pods versus tiles.
Choosing the right model for fully enclosed shower installation
The easiest fully enclosed shower installation is the one planned around the room. A square front-entry cubicle works well against a wall or in an alcove. A square or round corner-entry model can preserve circulation space in a compact room. A rectangular front-entry model provides a broader shower area where a longer wall is available.
| Model shape | Common position | Planning consideration |
|---|---|---|
| Square front-entry | Wall or alcove | Check front door clearance and side-wall orientation. |
| Square corner-entry | Room corner | Uses two sliding doors and keeps entry close to the corner. |
| Round corner-entry | Compact corner | Curved front can improve external circulation space. |
| Rectangular front-entry | Long wall | Requires 1200 × 900 mm floor area and suitable front access. |
Browse the Aeros shower cubicle range, or use the model-specific shower assembly guides before beginning work.
Frequently asked questions
How long does a fully enclosed shower take to install?
When the room, water supplies and waste point are prepared, installation can be possible in one day. The actual time depends on the selected model, access, installer experience and whether plumbing must be relocated.
Does an Aeros shower cubicle need silicone?
No silicone, glue or screws are required to assemble the Aeros enclosure, and silicone is not required around the edge of the shower tray. Site-specific plumbing connections must still be completed correctly.
Does a fully enclosed shower need waterproofing behind it?
The cubicle is designed as its own watertight enclosure. Requirements for the surrounding room and plumbing penetrations can vary, so confirm local building and plumbing obligations for the intended location.
Can I install a fully enclosed shower over an existing floor?
Potentially, provided the floor is stable, level, capable of supporting the shower and suitable for the required waste connection. The site must be assessed before installation.
Do I need a plumber?
Assembly may be suitable for a capable DIY renovator, but regulated water-supply and sanitary-drainage work may require a licensed plumber. Check the rules that apply in your state or territory.
Are the glass panels compliant?
Aeros shower cubicles use 5 mm safety glass certified to AS/NZS 2208. Relevant shower fittings are supported by Australian WaterMark and WELS compliance according to the product specification. Learn how the Australian Government’s Water Efficiency Labelling and Standards scheme helps buyers compare regulated showers and water-using products.
What ceiling height is required?
Allow at least 2150 mm installation height and confirm the exact model height, room clearance and access path before ordering.
Can the door arrangement be reversed?
Many Aeros models allow the door or wall arrangement to be reversed during assembly. Check the specification and assembly guide for the exact series.
Conclusion: are fully enclosed showers easy to install?
Yes—when the room is correctly prepared and the installer follows the model-specific guide. Aeros fully enclosed showers are deliberately designed to reduce installation stages through a reinforced adjustable tray, coordinated components and a clip-lock enclosure that assembles without screws, glue or silicone. That can save time, lower installation costs and make a complete shower practical in renovations, rentals, modular housing and many other applications.
Plan your Aeros shower installation
Compare shapes and sizes, then review the relevant assembly information before ordering.
View shower cubiclesView assembly guides
